Introduction:
In an era where mass production and automation reign supreme, there’s something undeniably charming about the craftsmanship and ingenuity embodied by vintage sewing machines. These mechanical marvels, forged from metal and gears, have witnessed generations of seamstresses and tailors weaving their magic, stitch by stitch. But as time marches on, even the most well-built machines can succumb to wear and tear, leaving their owners longing for the familiar hum and rhythmic cadence that once filled their sewing rooms.
Fear not, for within the pages of this comprehensive guide lies a treasure trove of knowledge, empowering you to breathe new life into your cherished vintage sewing companion. Whether you’re a seasoned seamstress or a passionate collector, the art of repairing these timeless machines is within your grasp. So, let us embark on a journey through the intricate world of vintage sewing machine repair, where the past meets the present, and the legacy of craftsmanship is preserved one careful repair at a time.
Before delving into repairs, it’s essential to understand the fundamental components and mechanisms that make your vintage sewing machine tick. Despite their varying designs and manufacturers, most vintage machines share similar core elements:
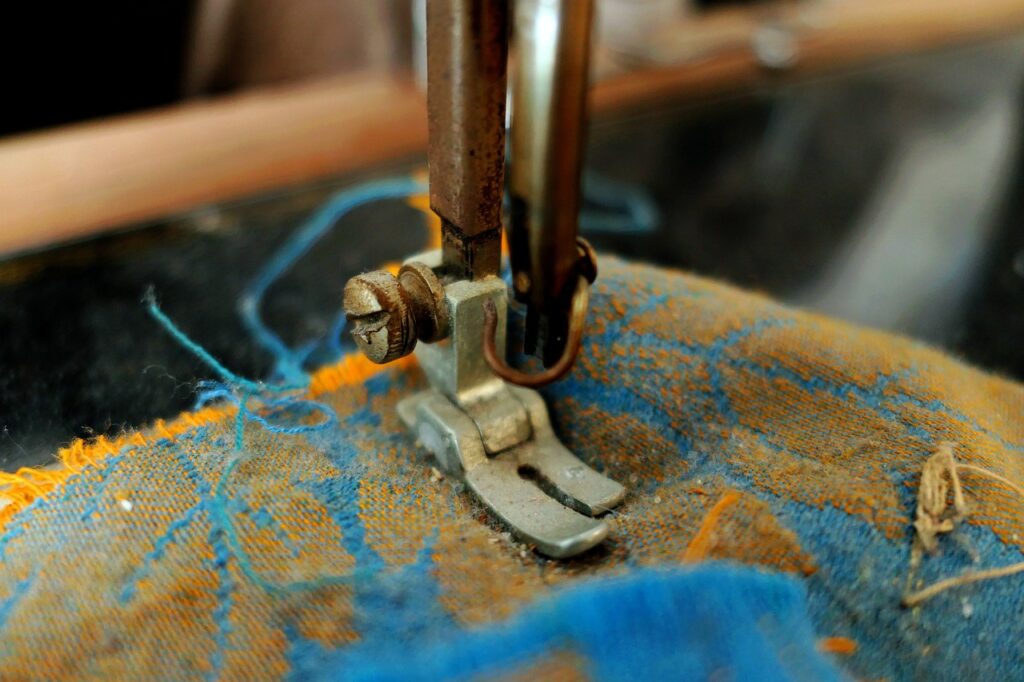
The Head: This is the main body of the machine, housing the intricate mechanical components responsible for stitch formation and fabric feeding.
The Needle and Presser Foot: The needle, paired with the presser foot, work in tandem to pierce the fabric and form stitches.
The Bobbin Case: This component, located beneath the needle plate, holds the bobbin that supplies the lower thread for stitch formation.
The Feed Dogs: These metal teeth grip and move the fabric through the machine during the sewing process.
The Tension Assembly: Responsible for maintaining proper thread tension, this mechanism often consists of tension discs and springs.
Diagnosing Common Issues
Before attempting any repairs, it’s crucial to accurately diagnose the problem plaguing your vintage sewing machine. Here are some common issues you may encounter:
1. Thread Jamming or Breaking
If your machine is frequently jamming or breaking threads, the culprit could be a combination of factors, including improper threading, dull or bent needles, incorrect tension settings, or debris buildup.
2. Noisy or Rough Operation
Excessive noise or rough operation can indicate a lack of lubrication, worn bearings, or misaligned components.
3. Feed Dog Issues
If the feed dogs fail to grip and move the fabric properly, it may be due to debris buildup, worn teeth, or timing issues.
4. Stitch Quality Problems
Skipped stitches, uneven stitching, or puckering fabric can result from tension issues, timing problems, dull needles, or damaged components.
Cleaning and Maintenance: The Foundation of Repair
Many sewing machine woes can be resolved through proper cleaning and maintenance. Over time, lint, dust, and fabric debris can accumulate inside the machine, hindering its performance. Here’s how to give your vintage beauty a thorough cleaning:
1. Disassembly
Start by unplugging and carefully disassembling the machine according to the manufacturer’s instructions. Remove detachable components like the needle plate, bobbin case, and others as needed.
2. Debris Removal
Use small vacuum attachments and soft brushes to remove lint, dust, and debris from all nooks and crannies. Pay special attention to the feed dogs, bobbin area, and tension assembly.
3. Oiling
Consult your machine’s service manual and apply a few drops of high-quality sewing machine oil to all moving metal components, following the specified oiling points. Wipe away any excess oil.
4. Reassembly
Once thoroughly cleaned and oiled, carefully reassemble the machine, ensuring all components are properly aligned and secured.
Replacing Worn Parts
In some cases, worn or damaged parts may need to be replaced to restore optimal performance. Common replacement parts for vintage sewing machines include:
1. Needles
A dull, bent, or damaged needle can cause a multitude of issues, from skipped stitches to fabric damage. Replace needles regularly, and always use the correct needle type and size for your project.
2. Bobbins
Over time, bobbins can become distorted or develop burrs, leading to thread tension problems. Replace bobbins as needed, using genuine manufacturer replacements when possible.
3. Presser Feet
Worn or damaged presser feet can cause uneven fabric feeding and stitch quality issues. Consider investing in a set of replacement feet suitable for your machine.
4. Feed Dogs
If the feed dog teeth are severely worn or broken, they may need to be replaced to ensure proper fabric grip and movement.
5. Belts and Gears
Vintage machines often rely on intricate systems of belts and gears to transfer power and motion. Worn or broken belts or gears can cause rough operation and may require replacement.
6. Needle Plates
A damaged or warped needle plate can prevent proper needle and bobbin synchronization, leading to skipped stitches and jamming. Replace the needle plate if necessary.
When sourcing replacement parts, consult your machine’s service manual for accurate part numbers and specifications. Whenever possible, opt for genuine manufacturer replacements to ensure compatibility and quality.